# integrated-cas3-front-server
# 一、前置条件
# 启动nginx及配置
#启动nginx
cd D:\www\base-nginx-1.13.5
start .\nginx
1
2
3
2
3
nginx.conf的server部分配置如下:
server {
  listen 80;
  server_name 127.0.0.1;

  client_max_body_size 500m;	#Nginx requestbody max size
  # front文件夹路径
  root D:\git-demo\sso-oauth2\project\client-springboot-server-front\front;
  index index.html;


  location  /client {
    proxy_pass   http://127.0.0.1:8100/client;
    #proxy_set_header Host $host;
    #作用:把原http请求的Header中的Host字段也放到转发的请求里。
    #若不加这一行,nginx转发的请求头里就没有该域名,就不会把cookie放置到该域名里了。
    proxy_set_header   Host             $host;
    proxy_set_header   X-Real-IP        $remote_addr;
    proxy_set_header   X-Forwarded-For  $proxy_add_x_forwarded_for;
    proxy_cookie_path	/client   	/;
    # 后端服务器处理请求的时间
    proxy_read_timeout 600;
  }
}
1
2
3
4
5
6
7
8
9
10
11
12
13
14
15
16
17
18
19
20
21
22
23
2
3
4
5
6
7
8
9
10
11
12
13
14
15
16
17
18
19
20
21
22
23
# 二、集成方式及说明
整体思路如下:
1、如果某些接口需要登陆才能访问。统一通过/auth进行跳转、控制。
若当前用户未登录
a 在index.html中将当前 front的URL 保存到cookie中, key值为jumpUrl,然后访问/auth接口。
b 因为/auth是需要权限才能访问(配置),所以会直接跳转到cas-server中进行登陆。
c 登陆成功后才会到/auth接口,若存在用户信息,判断cookie中是否有需要跳转的页面。若没有,默认跳转到主页;若有,按照cookie中的跳转页面进行跳转。
# 1、application.yml
# 统一utf-8编码
server:
  port: 8100

  servlet:
    encoding:
      charset: UTF-8
    context-path: /client
  tomcat:
    uri-encoding: UTF-8

# cas客户端配置
cas:
  server-url-prefix: http://127.0.0.1:8000/cas
  # CAS-server 登陆地址
  server-login-url: http://127.0.0.1:8000/cas/login
  # CAS-client 地址
  client-host-url: http://127.0.0.1
  validation-type: CAS3
  use-session: true

  # 认证url,默认 /*
  authentication-url-patterns:
    - /home/*
    - /home
    - /auth
  # 校验url,默认 /*
  validation-url-patterns:
    - /home/*
    - /home
    - /auth
  # 对url 进行包装,之后就可在request中获取到用户信息,默认/*
  request-wrapper-url-patterns:
    - /home/*
    - /home
    - /auth
1
2
3
4
5
6
7
8
9
10
11
12
13
14
15
16
17
18
19
20
21
22
23
24
25
26
27
28
29
30
31
32
33
34
35
36
37
2
3
4
5
6
7
8
9
10
11
12
13
14
15
16
17
18
19
20
21
22
23
24
25
26
27
28
29
30
31
32
33
34
35
36
37
# 2、/auth 核心代码
    /**
     * 这里处理登陆逻辑(前置:跳转到本页面前,需要处理前端,将跳转到本页面前的页面存储到cookie中,cookie的key为【jumpUrl】)
     * 一般是用户未登录,需要登陆时跳转到本页面。
     * 因为配置了yml,所以进入到controller的一定是有用户信息
     * 先判断cookie中是否有需要跳转的页面。若没有,默认跳转到主页;若有,按照cookie中的跳转页面进行跳转
     *
     * @return
     */
    @RequestMapping(value = {"/auth"})
    public String auth(HttpServletRequest request, HttpServletResponse response) {
        //默认跳转到主页
        //String jumpUrl = "http://127.0.0.1:8100/home";
        String jumpUrl = request.getScheme() + "://" + request.getServerName() + ":" + request.getServerPort() + request.getContextPath() + "/home";

        AttributePrincipal userPrincipal = (AttributePrincipal) request.getUserPrincipal();
        if (userPrincipal != null) {
            //若存在用户信息,先判断cookie中是否有需要跳转的页面。若没有,默认跳转到主页;若有,按照cookie中的跳转页面进行跳转
            Cookie[] cookies = request.getCookies();
            for (Cookie cookie : cookies) {
                cookie.getName();
                if ("jumpUrl".equals(cookie.getName())) {
                    if (cookie.getValue() != null) {
                        jumpUrl = cookie.getValue();
                        //jquery.cookie 存储时会将值做encode处理
                        jumpUrl = urlDecode(jumpUrl);
                    }

                    //重置为无效
                    cookie.setMaxAge(0);
                    cookie.setPath("/");
                    response.addCookie(cookie);
                }
            }

        }
        return "redirect:" + jumpUrl;
    }
1
2
3
4
5
6
7
8
9
10
11
12
13
14
15
16
17
18
19
20
21
22
23
24
25
26
27
28
29
30
31
32
33
34
35
36
37
2
3
4
5
6
7
8
9
10
11
12
13
14
15
16
17
18
19
20
21
22
23
24
25
26
27
28
29
30
31
32
33
34
35
36
37
# 3、MyAuthenticationRedirectStrategy.java 核心代码
/**
 * 拦截请求接口时,若没有用户信息时,原本要跳转到cas登陆页面的,这时返回json结果到前台。
 * 前台捕获到code=100,这时处理登陆逻辑。
 */
public class MyAuthenticationRedirectStrategy implements AuthenticationRedirectStrategy {


    @Override
    public void redirect(HttpServletRequest request, HttpServletResponse response, String potentialRedirectUrl) throws IOException {

        //处理,只有/auth路由才进行跳转
        if ("/auth".equals(request.getServletPath())) {
            // 重定向
            response.sendRedirect(potentialRedirectUrl);
            return;
        }

        //其他情况下默认认为是接口, 返回json结果
        response.setCharacterEncoding("utf-8");
        response.setContentType("application/json; charset=utf-8");
        PrintWriter out = response.getWriter();

        JSONObject result = new JSONObject();
        result.put("code", 100);
        result.put("msg", "当前用户未登录或已过期。");
        result.put("result", new JSONObject().put("jumpUrl", "http://www.baidu.com"));
        out.write(result.toString());
    }
}
1
2
3
4
5
6
7
8
9
10
11
12
13
14
15
16
17
18
19
20
21
22
23
24
25
26
27
28
29
2
3
4
5
6
7
8
9
10
11
12
13
14
15
16
17
18
19
20
21
22
23
24
25
26
27
28
29
# 三、测试效果
访问页面 http://127.0.0.1/
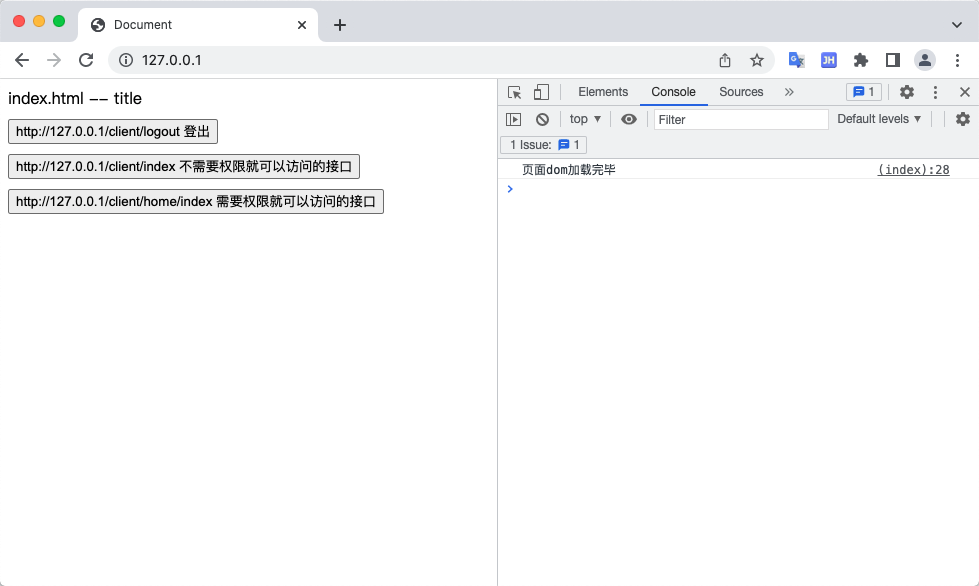
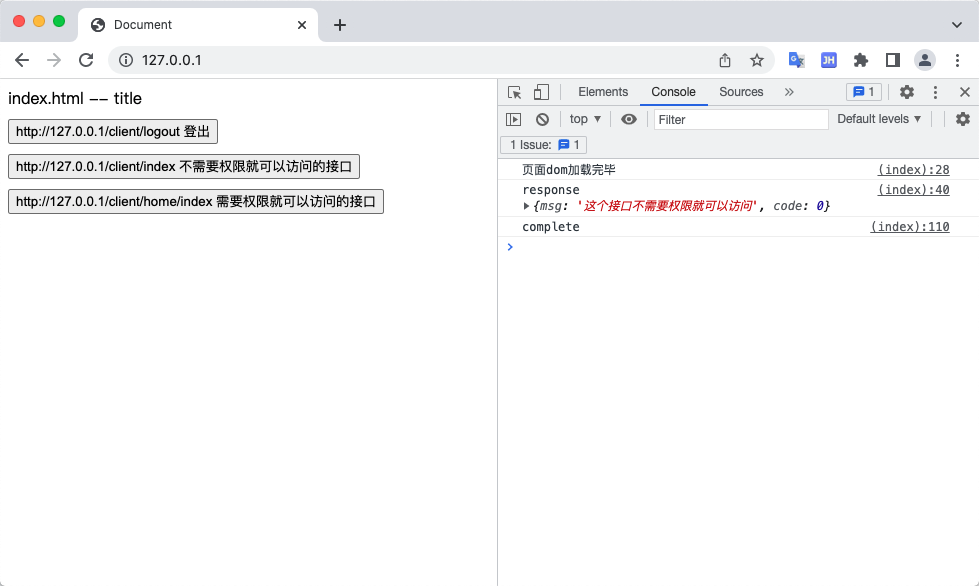
点击按钮【http://127.0.0.1/client/index 不需要权限就可以访问的接口】发现可以请求并返回结果
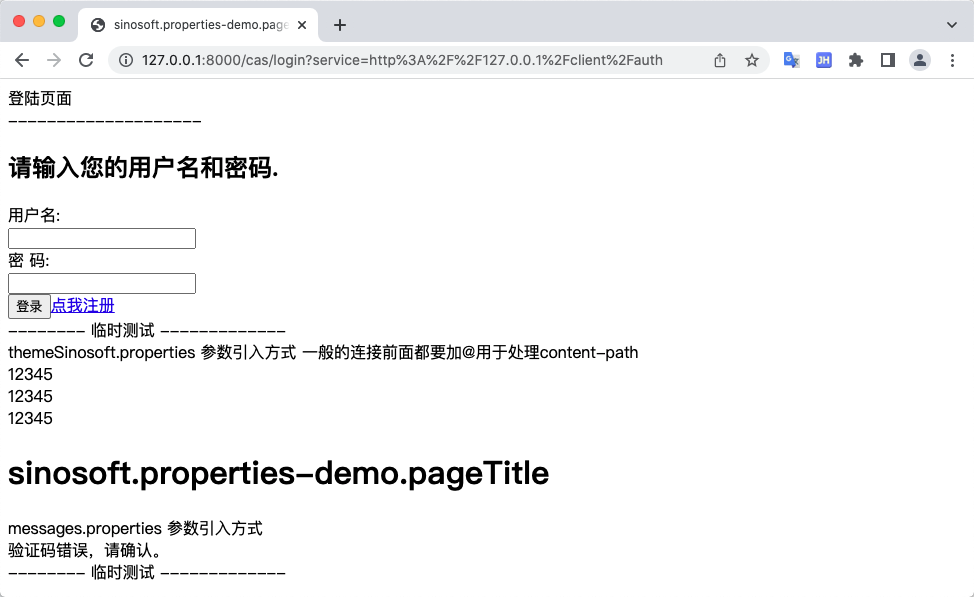
点击按钮【http://127.0.0.1/client/home/index 需要权限就可以访问的接口】因为刚开始未登录,他将跳转到cas-server的登陆页面。
http://127.0.0.1:8000/cas/login?service=http%3A%2F%2F127.0.0.1%2Fclient%2Fauth
登陆成功以后,将返回/auth路由,链接:http://127.0.0.1/
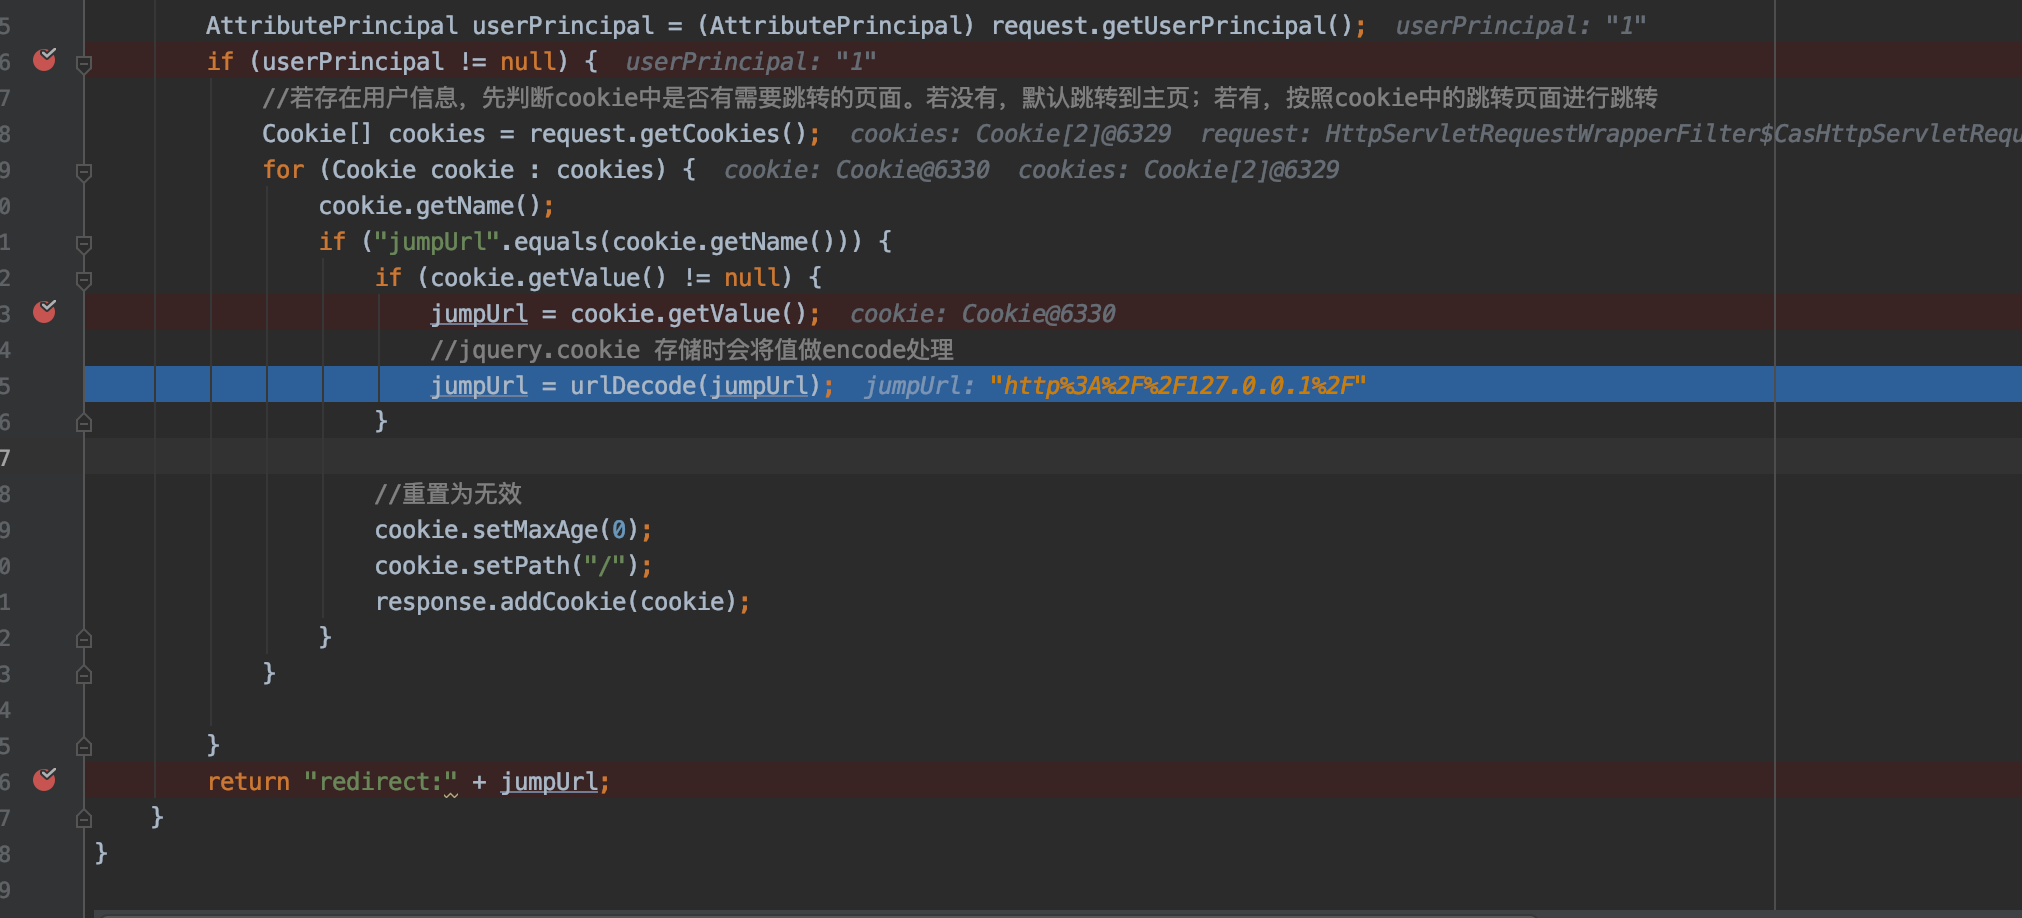
删除cookie后,跳转到之前的访问路径 http://127.0.0.1/
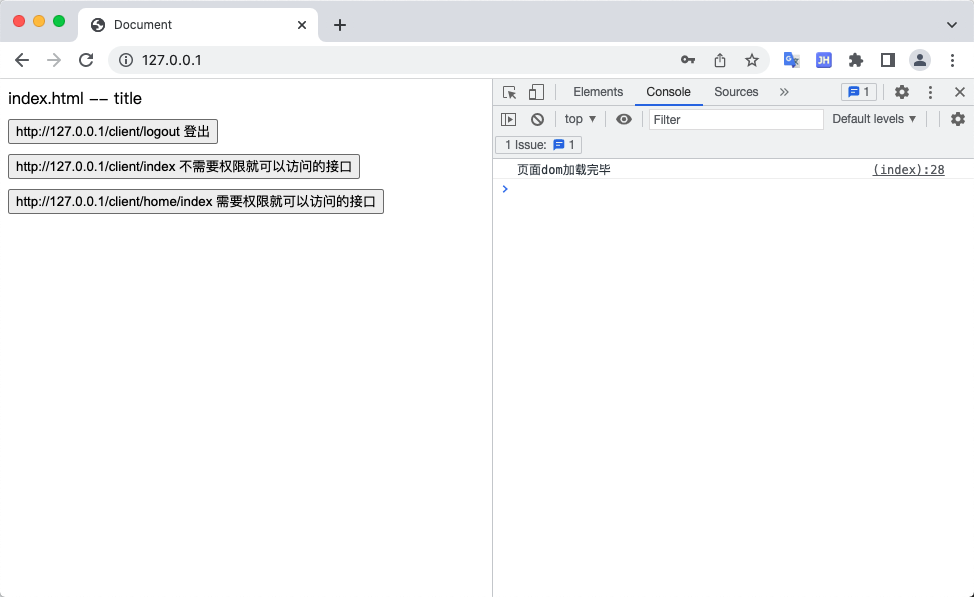
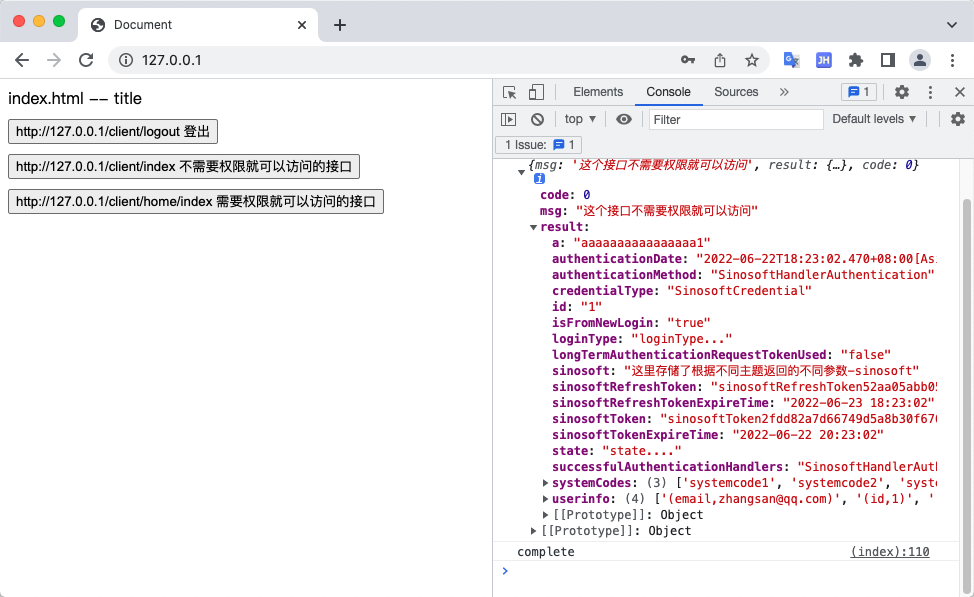
再次点击按钮【http://127.0.0.1/client/home/index 需要权限就可以访问的接口】,可以看到已经获取到了用户信息。
